What You See on the Kalakar Homepage
The moment you log in, your homepage gives you a quick snapshot of your account:
-
Recent Projects, every video you've worked on, ready to reopen in a click.
-
Manage Billing, visible only on paid plans, this is where you handle upgrades, downgrades, and invoices.
-
Help & Support, a direct line to the Kalakar team if you hit a bug or have a question.
-
Storage usage, shows how much space your uploaded footage is taking up. Delete a video, and that space is freed up instantly.
-
Remaining time, the amount of captioning time left on your current plan, calculated against your specific package.
-
Upload box, the big square where you drag and drop your next video to start captioning.
-
Profile section, where you set your name, phone number, language, and other basic details.
Filling out your profile properly is a small step, but it makes the rest of the platform run smoother, especially if you plan on using Kalakar long-term.
Inside a Kalakar Project
Once you open (or start) a project, you'll notice Kalakar supports both 16:9 (horizontal) and 9:16 (vertical) formats, useful if you're repurposing the same footage for YouTube and Instagram/TikTok.
Here's what the editor gives you:
Fonts, available on paid plans, including the option to upload your own custom fonts.
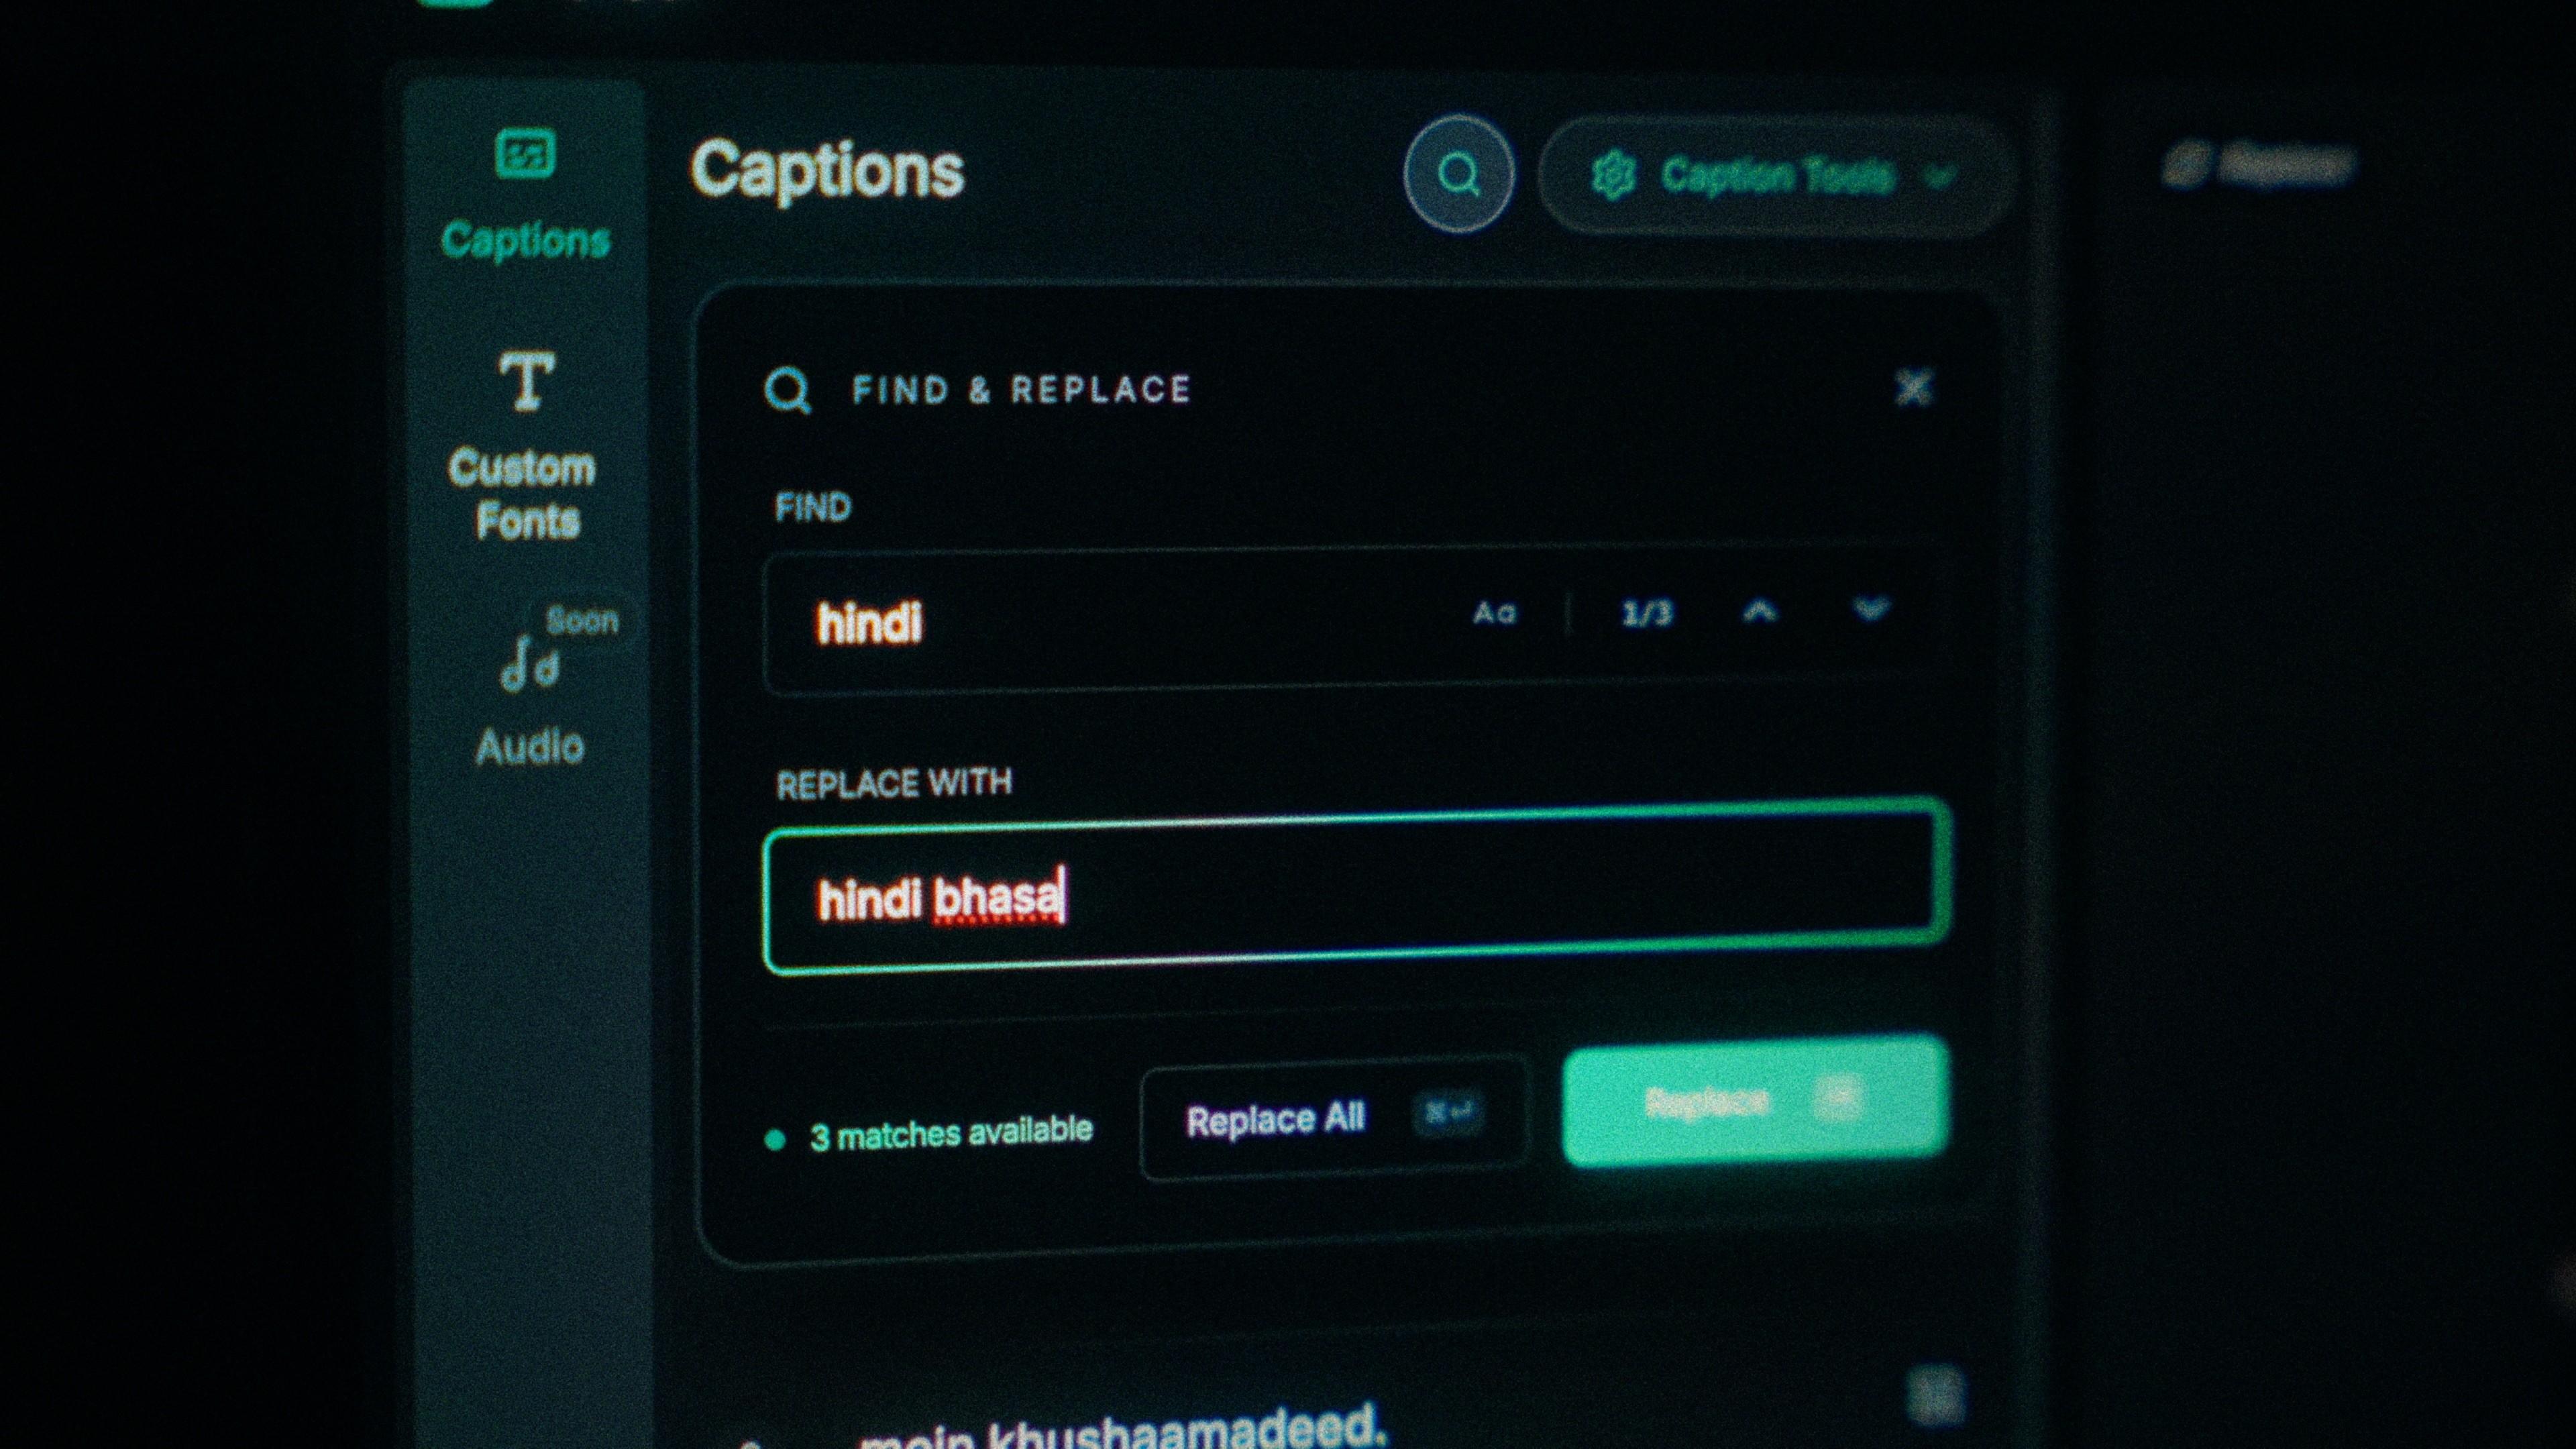
Captions, full editing control. You can remove a caption, rewrite it, or fine-tune it directly.
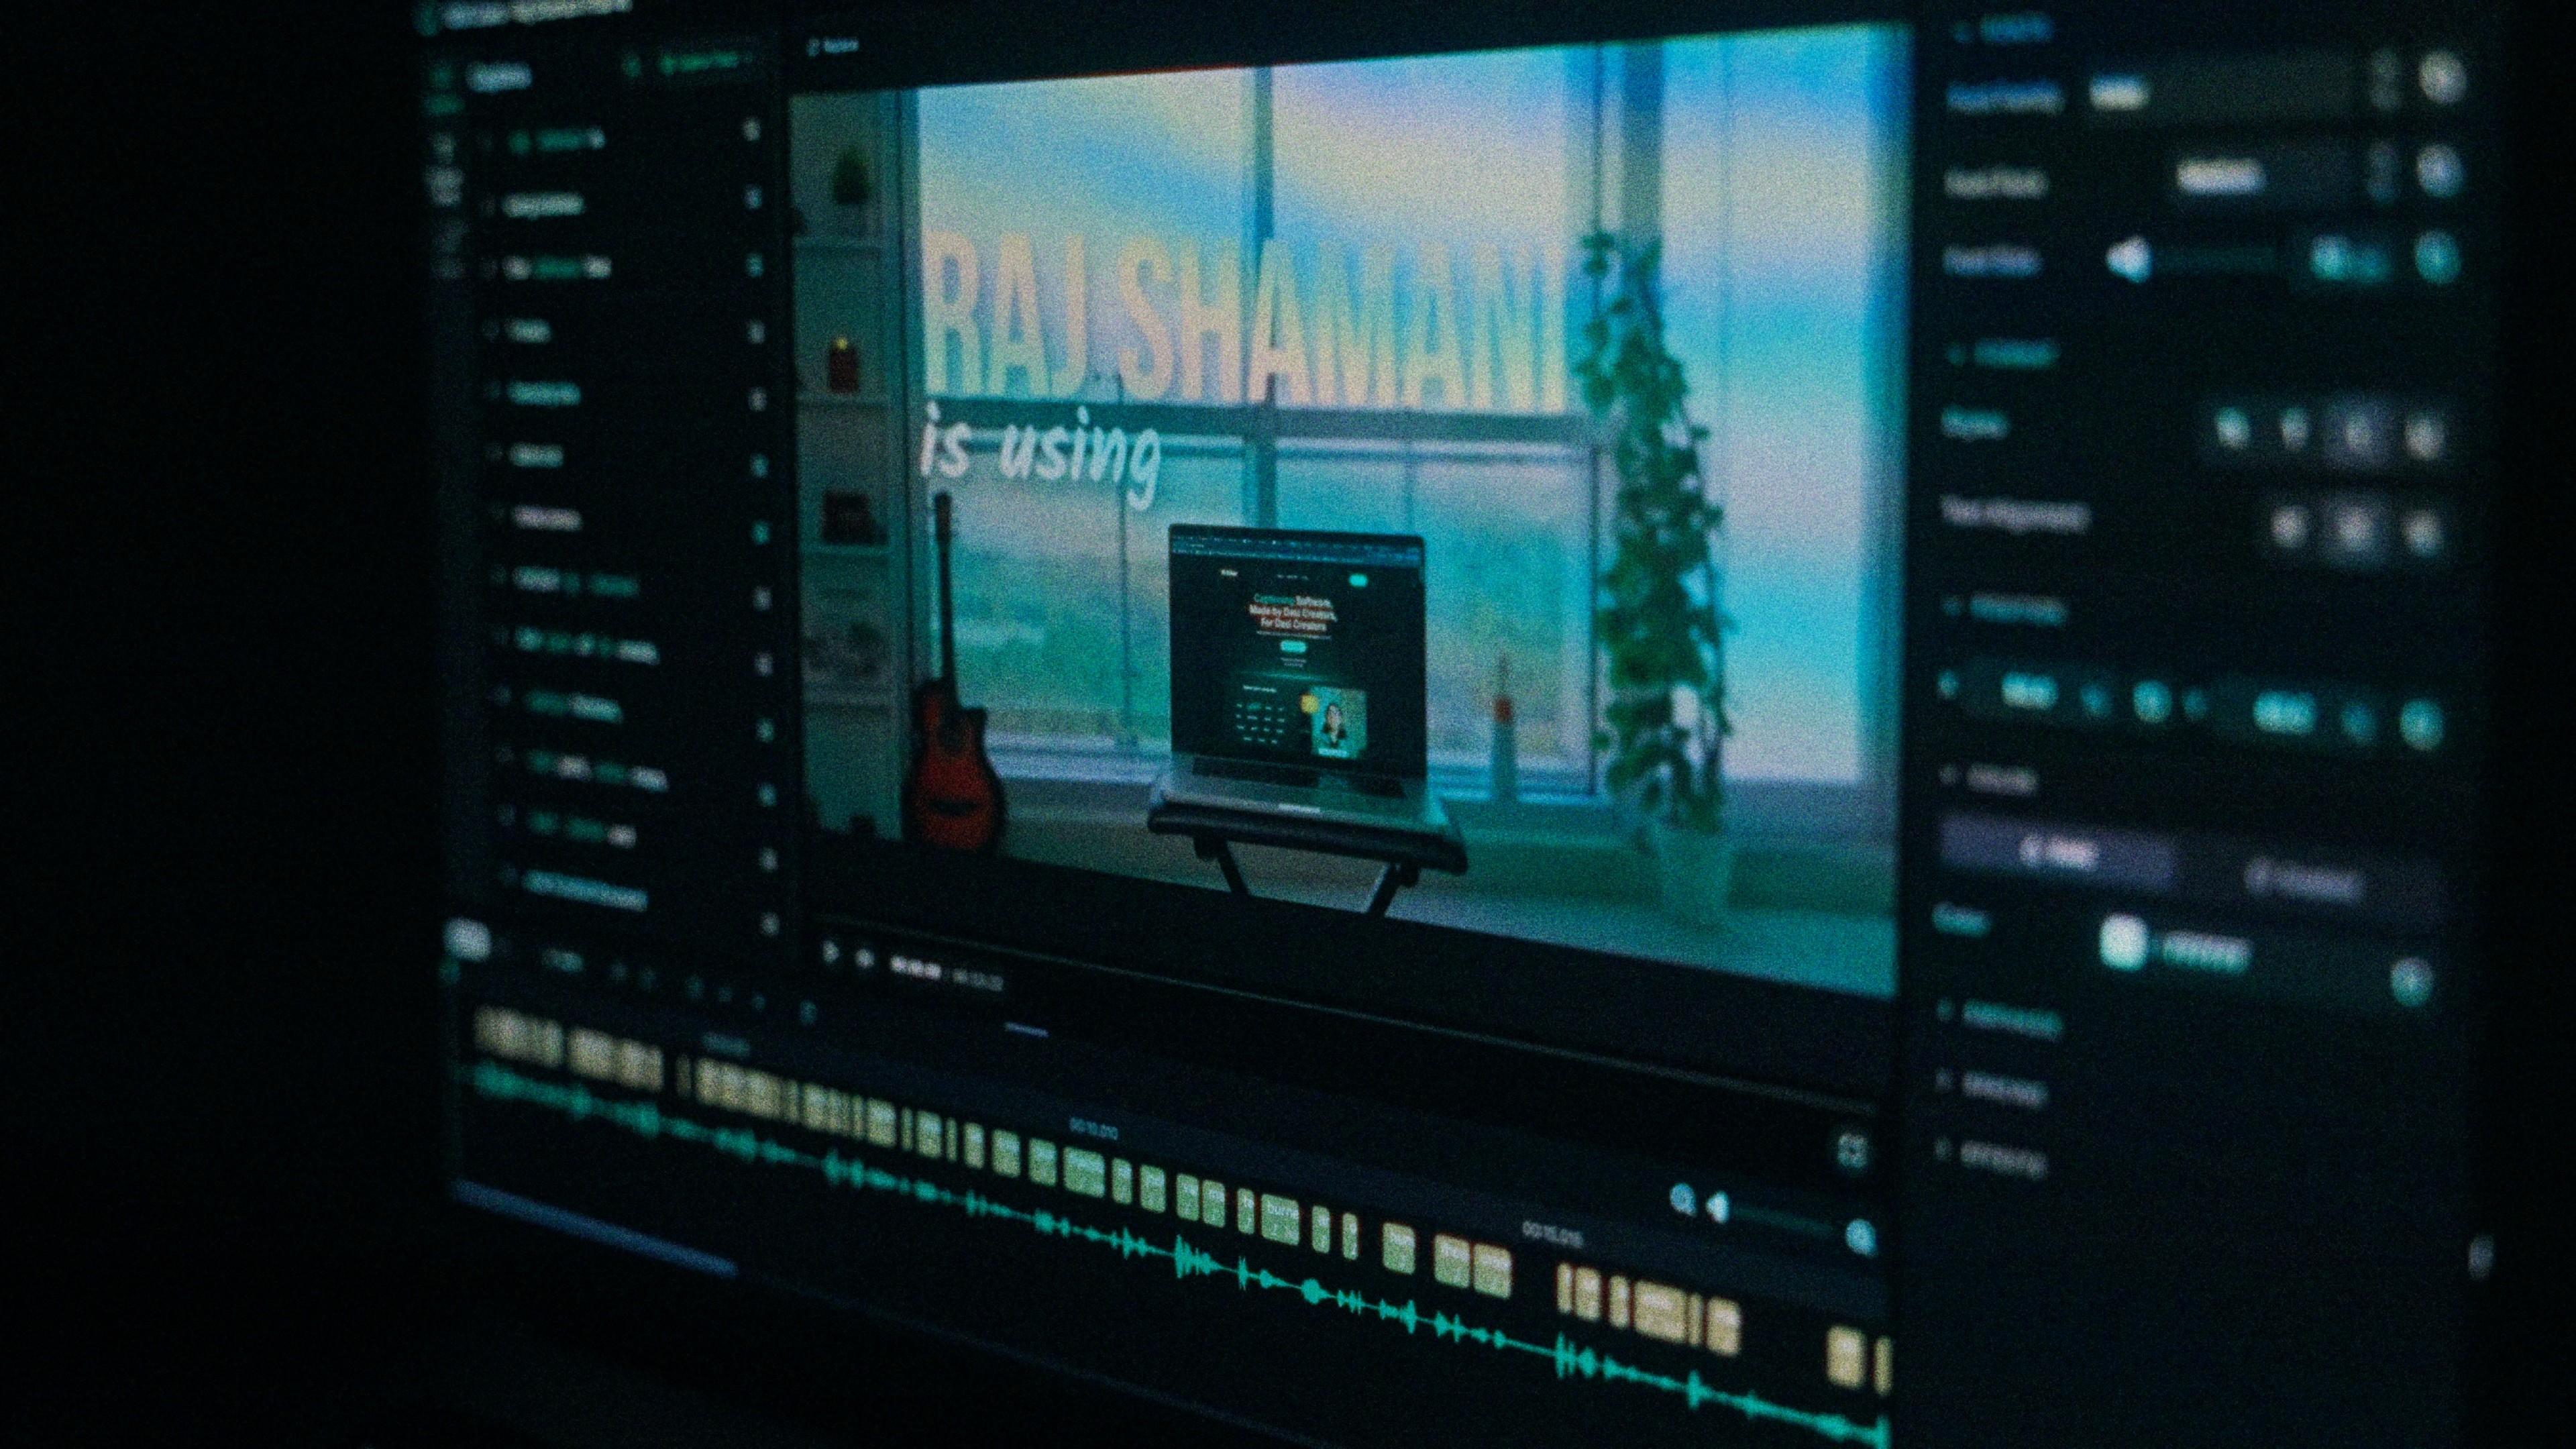
Timeline, scrub through your footage, zoom in and out, and click directly on a caption to jump to it. If you're used to editing timelines from other software, you'll feel right at home. If you're not, Kalakar is still fully usable without ever touching it.
Text Plus, add a brand-new caption anywhere on the timeline, then extend or shrink its duration exactly how you want.
Text controls, rewrite captions, reposition them, and even style individual letters.
Templates, pre-built caption styles you can apply instantly. Popular picks include the Ali Abdaal-style template and the Editing School one-word-caption style, both widely used by creators right now.
Transitions, apply animation to your captions at the line level or word level.
AI Audio Cleaning, one click gives you studio-quality, noise-free audio, no manual editing required.
Exporting Your Video
Once you're happy with your edit, head to the Export button. You'll see three options:
-
Video, the standard choice if you're uploading straight to social media. 1080p is the recommended resolution for most platforms.
-
Alpha Channel, exports your captions as a transparent layer for use in professional editing software.
-
SRT, exports an editable subtitle file for advanced workflows.
(We cover Alpha Channel and SRT in detail in a separate post, worth reading if you work in a professional NLE like Premiere, DaVinci Resolve, or Final Cut Pro.)
Why This Matters
A lot of Desi editors have spent years typing out captions manually, word by word. Kalakar removes that entire step, and once you understand the layout of the homepage and the editor, you can move through projects dramatically faster.
FAQ
Do I need a paid plan to use Kalakar? No, the free plan gives you access to core captioning tools. Fonts, Manage Billing, and some advanced export options are reserved for paid plans.
What's the difference between 16:9 and 9:16 projects? 16:9 is horizontal, best for YouTube. 9:16 is vertical, best for Instagram Reels, TikTok, and Shorts. The editor UI adjusts slightly depending on which format you're working in.
Can I use Kalakar without the timeline? Yes. The timeline is a power-user feature for editors who are used to traditional NLEs. Kalakar is fully functional without it.